Workflow Configuration
Configuring the Workflow is the primary step to be done right after creating a user profile. Workflow is where the platform lets you define the steps of how your the documentation process will be carried on. It enables you to set up things that are needed for a seamless digitization process from start to end.
In Workflow, you can
- Set input folder where imported documents will reside
- Set output folder where processed data/documents will be stored
- Set workflow timer interval
- Configure workflow steps
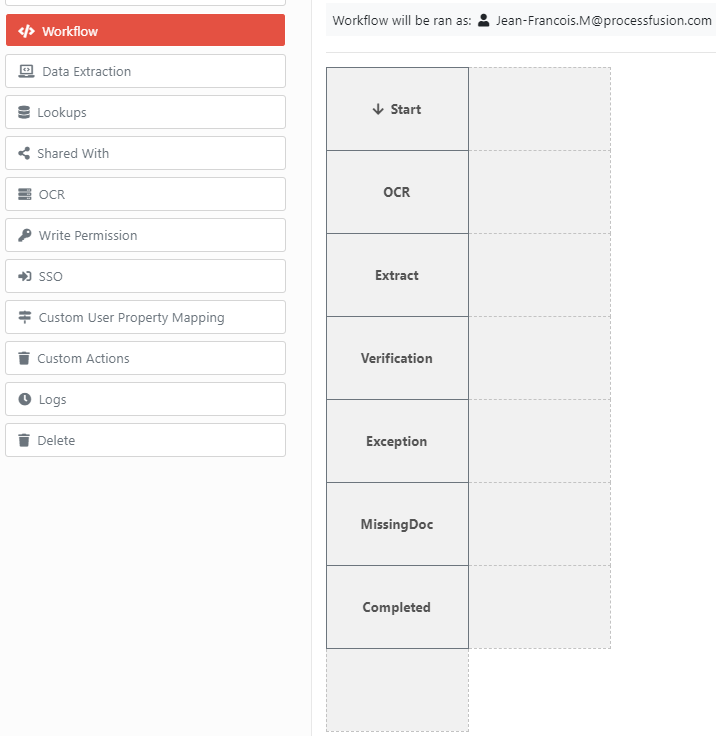
Workflow
The Workflow steps can vary from profile to profile and is easily customizable through each step with minimal coding. For example, the picture below shows a seven step workflow of a digitization process from start to end.
The interface allows to click on each step, open Json editor to punch in your code as required. Your code dictates what is to be done on your document on each step. On successful completion of each step, the data is moved to the next step for processing.
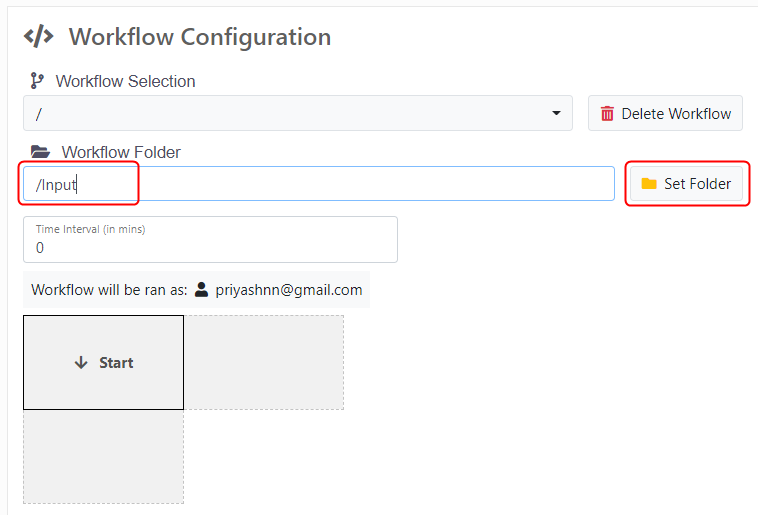
Set up input folder
- On the Profile tab, select Workflow from the left-pane.
- To create anew folder, select +New from the drop-down.
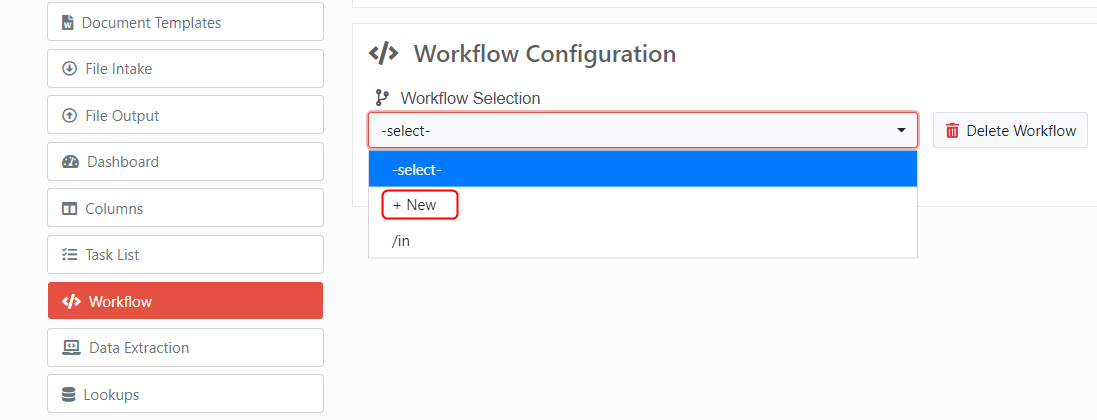
- Enter Workflow Folder Name and click the Set Folder button.
Set up output folder
- On the Profile tab, select Workflow from the left-pane.
- To create anew folder, select +New from the drop-down.
CP-1 for Administrators Page 1 of 1